Learning how to store freshly harvested fish will keep you from foodborne illnesses, and improve the quality of your table fare. You will learn how to preserve your harvest for a year, and more, saving money on your grocery bills in the long run. Follow as we guide you through the process of fish handling, from the water to the freezer and then your dinner table.
The Danger Zone
Let’s take a look at what is referred to as the temperature danger zone. We aren’t talking about the iconic song from the movie Top Gun. Instead, we’re referring to a temperature range where food is susceptible to rapidly growing bacteria. The danger zone occurs when food is left unrefrigerated and reaches an internal temperature between 40 and 140 degrees Fahrenheit. The rule of thumb is always keep cold food cold and hot food hot.
Store Freshly Harvested Fish: Steps to Proper Game Fish Handling
Step One: Keep Fresh Caught Fish Alive Until You’re Ready To Clean Them
If possible, always keep your game fish alive until you’re ready to place them on the fillet table. Specifically, doing so will prevent your meat from spoiling. Here are some ways you can keep your fish alive while you’re out on the water:
- Attach your fish to a stringer and leave them submerged underwater.
- Thread your stringer through their lip instead of their gills.
- Leave your fish in a built-in or portable live well.
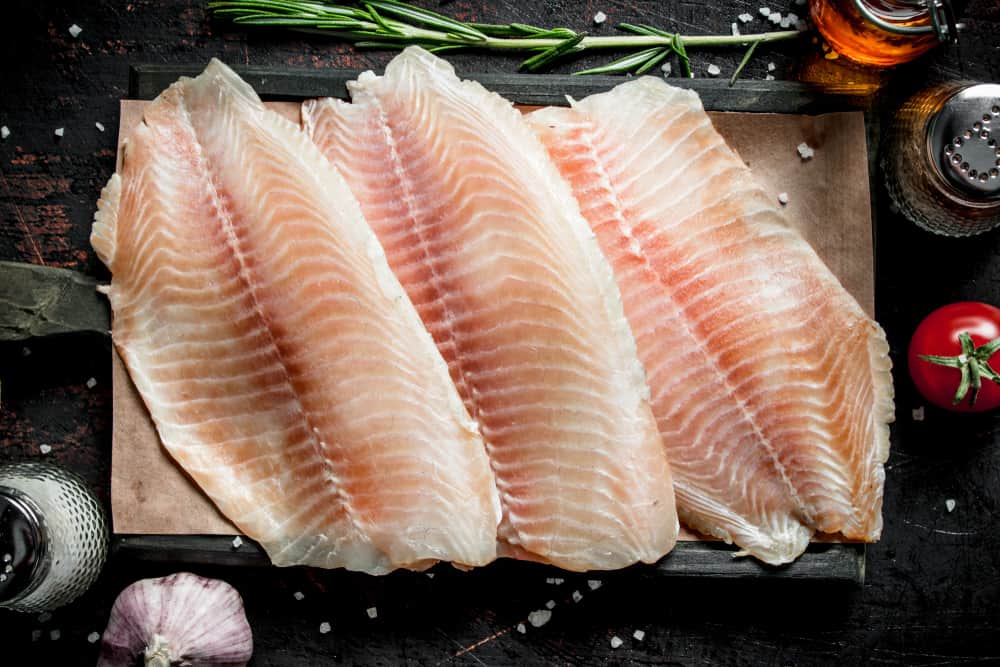
Step Two: Clean Your Fish Thoroughly
Once you’re ready to get your fish on the fillet table, go ahead and start making your cuts. Whether you dress, fillet, or steak your fish, ensure you rinse it off with cold water before and after cleaning. Also, make sure to remove all of the guts, red meat, and silver skin from your fillets. If you would like further instruction on cleaning game fish, then please visit our tutorial.
Step Three: Ice Down Your Fish
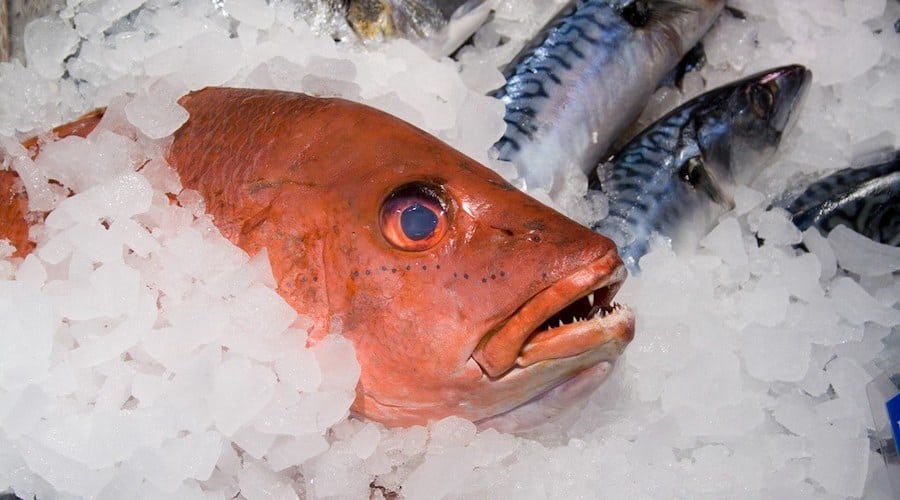
Image Credit: Photo by Aubergene on Creative Commons
Then, immediately put your freshly cut on ice while you continue to make your other cuts. Icing your fish will keep your meat from reaching the ‘danger zone’ discussed earlier.
Step Four: Brine the Fish You Plan on Cooking
Follow this step if you plan on cooking your freshly caught or thawed game fish within the next 24 hours. Brining your meat serves three purposes: first, it reduces the likelihood of surface spoilage. Second, it removes that gamey texture from the fish. Third, it enhances the flavor of your meat.
Here are directions for how to cold brine your meat:
- Pour cold water, salt, and sugar into a large bowl. Note, for every 8 cups of water, mix ¾-cup of salt and ¾-cup of sugar.
- Stir the brining solution until the salt and sugar dissolve.
- Place your fish in the cold brine, making sure it is fully submerged in the water. Add more of your brining solution if needed.
- Cover the top of your container with saran wrap.
- Let your meat sit in the cold brine in the refrigerator. The brining process will take an hour per pound.
- Once your cold brine is complete, rinse your fish completely off and pat it dry with a paper towel before cooking.
Step Five: Preserve Fish by Vacuum Sealing
Then, for the meat you plan on storing in your freezer, take out your trusty vacuum sealer. Before freezing, vacuum sealing your fish will protect your food from freezer burn and spoilage. Also, if you’re machine has a moist food setting, make sure to click that beforehand.
Step Six: Freeze Your Vacuum Sealed Fish
Finally, once your fish has been packed and sealed, label your bag with the date it was processed and store it in your freezer.
Eat Your Harvested Fish Within 6 to 12 Months of Storing

Proper handling of game fish will keep you and your family safe from food poisoning. Alongside following safe food practices, we highly recommend storing your freshly harvested fish by vacuum sealing it. Doing so will keep your meat at its peak freshness and protect it from spoiling. However, make sure to consume your frozen fish within 6 to 12 months for the best taste and results. Happy fishing and happy eating!